Multiplier - Missions Creation
Creating missions in a loyalty program using multiplier reward type is a powerful way to engage customers, encourage repeat interactions, and reward their participation. Missions act as challenges or tasks that users can complete to earn loyalty points, discounts, or exclusive rewards.
🌟 How to Create Multiplier Missions in the Mojito Loyalty Admin Portal
Creating a Multiplier Mission in the Mojito Loyalty Admin Portal enables you to offer enhanced rewards for specific tasks. By setting a multiplier, users can earn bonus points for a limited duration, increasing engagement and incentivizing repeat participation.
🧭 Step-by-Step Guide to Creating a Multiplier Mission
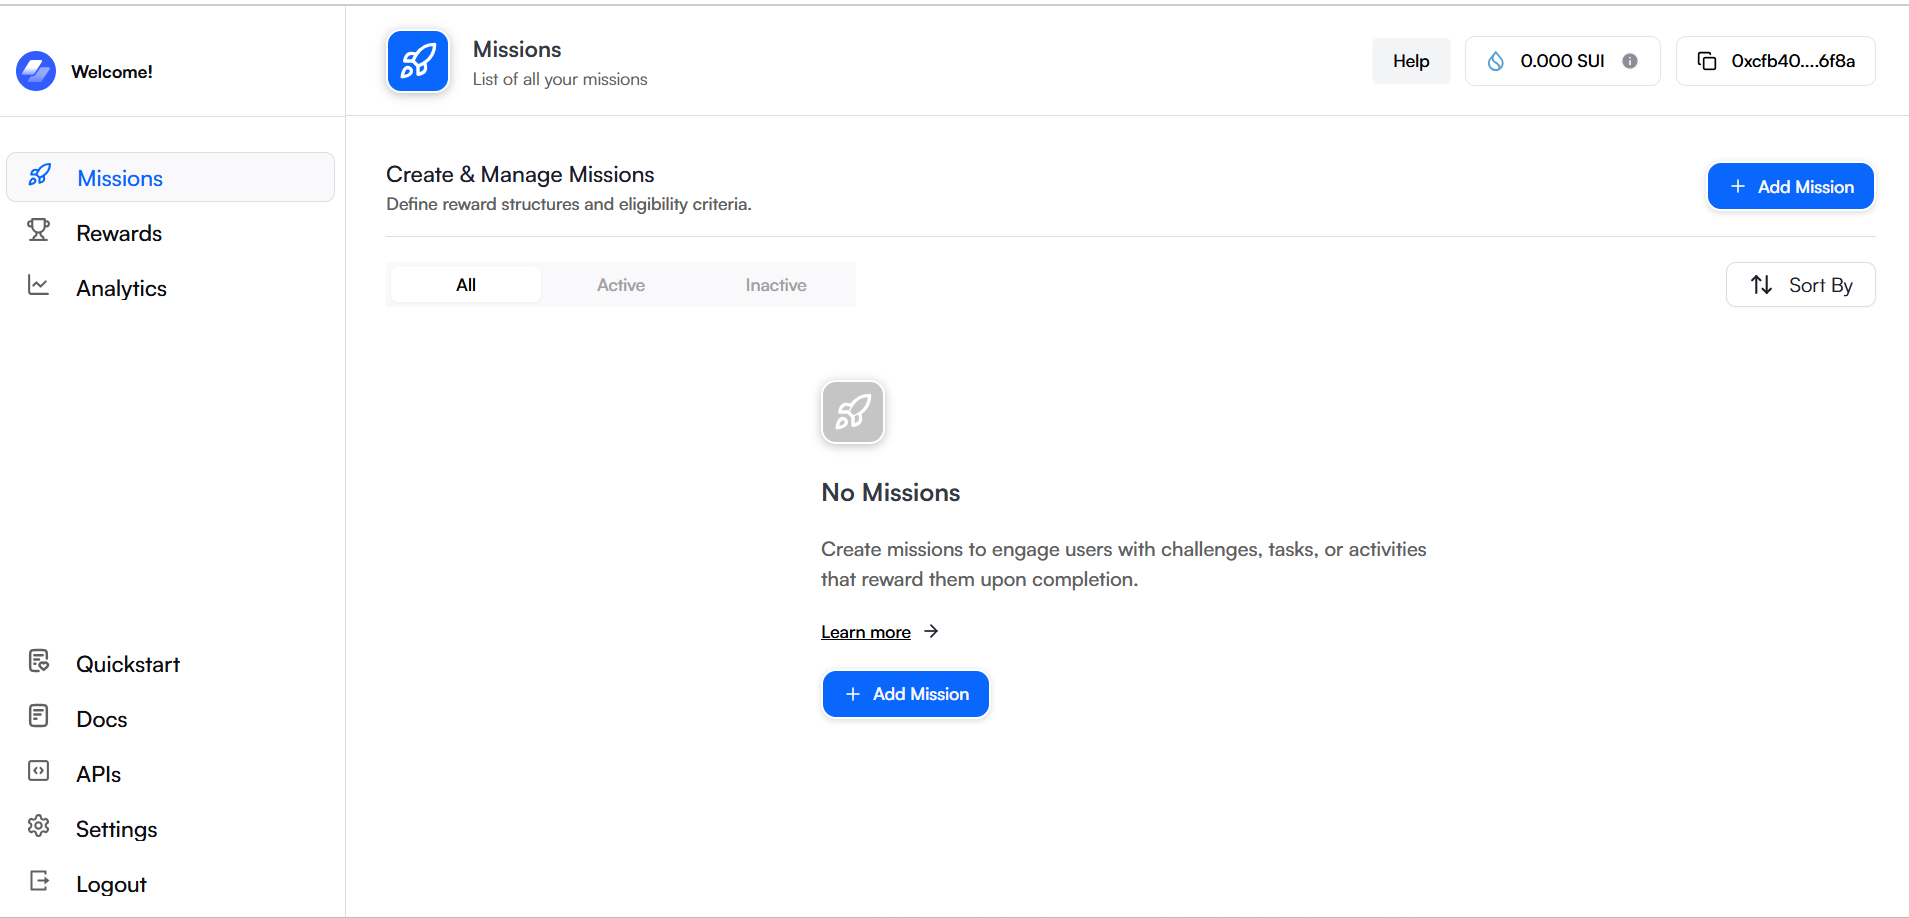
🔹 Step 1: Access the "Add Missions" Section
-
Log in to the Mojito Loyalty Admin Portal.
-
From the dashboard, go to the Missions tab.
-
Click “Add Missions” to start creating a new mission.
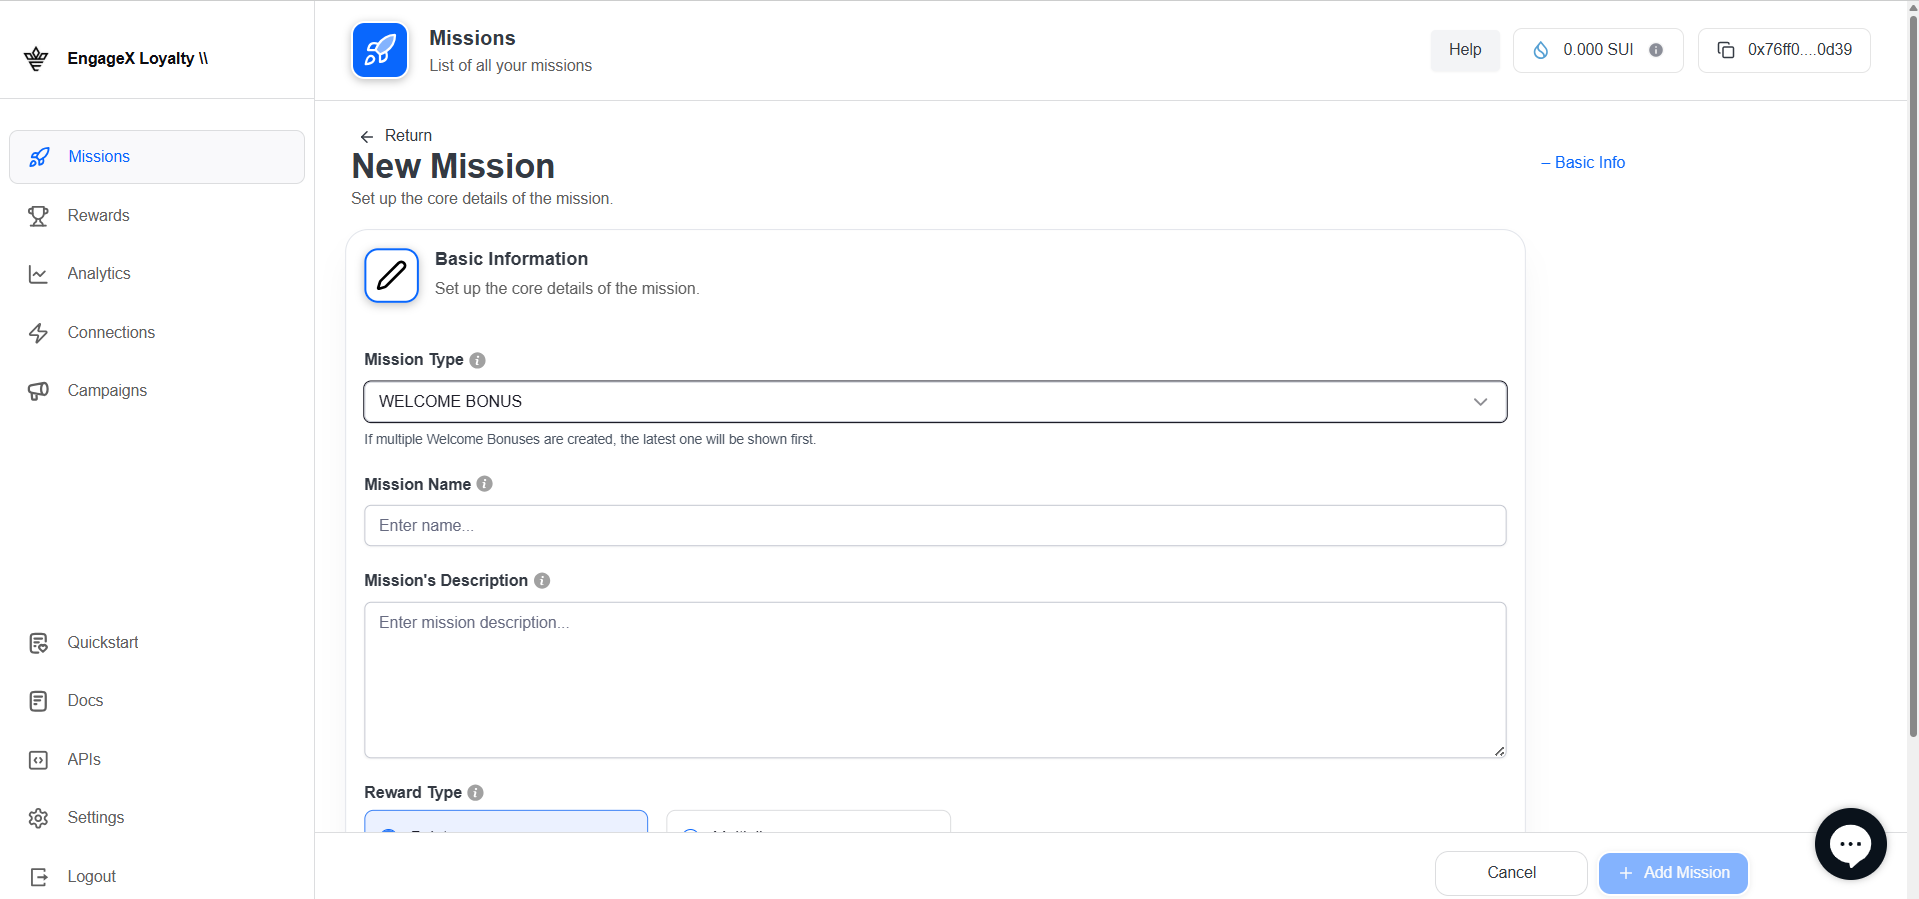
🔹 Step 2: Choose a Mission Type That Supports Multipliers
The following mission types support the multiplier feature:
- ✅ Welcome Bonus
- ✅ Discord
- ✅ X (Twitter).
🔹 Step 3: Enter Basic Mission Details
Provide the essential configuration:
- Mission Name: A clear and descriptive title.
- Description: Briefly explain what the mission entails.
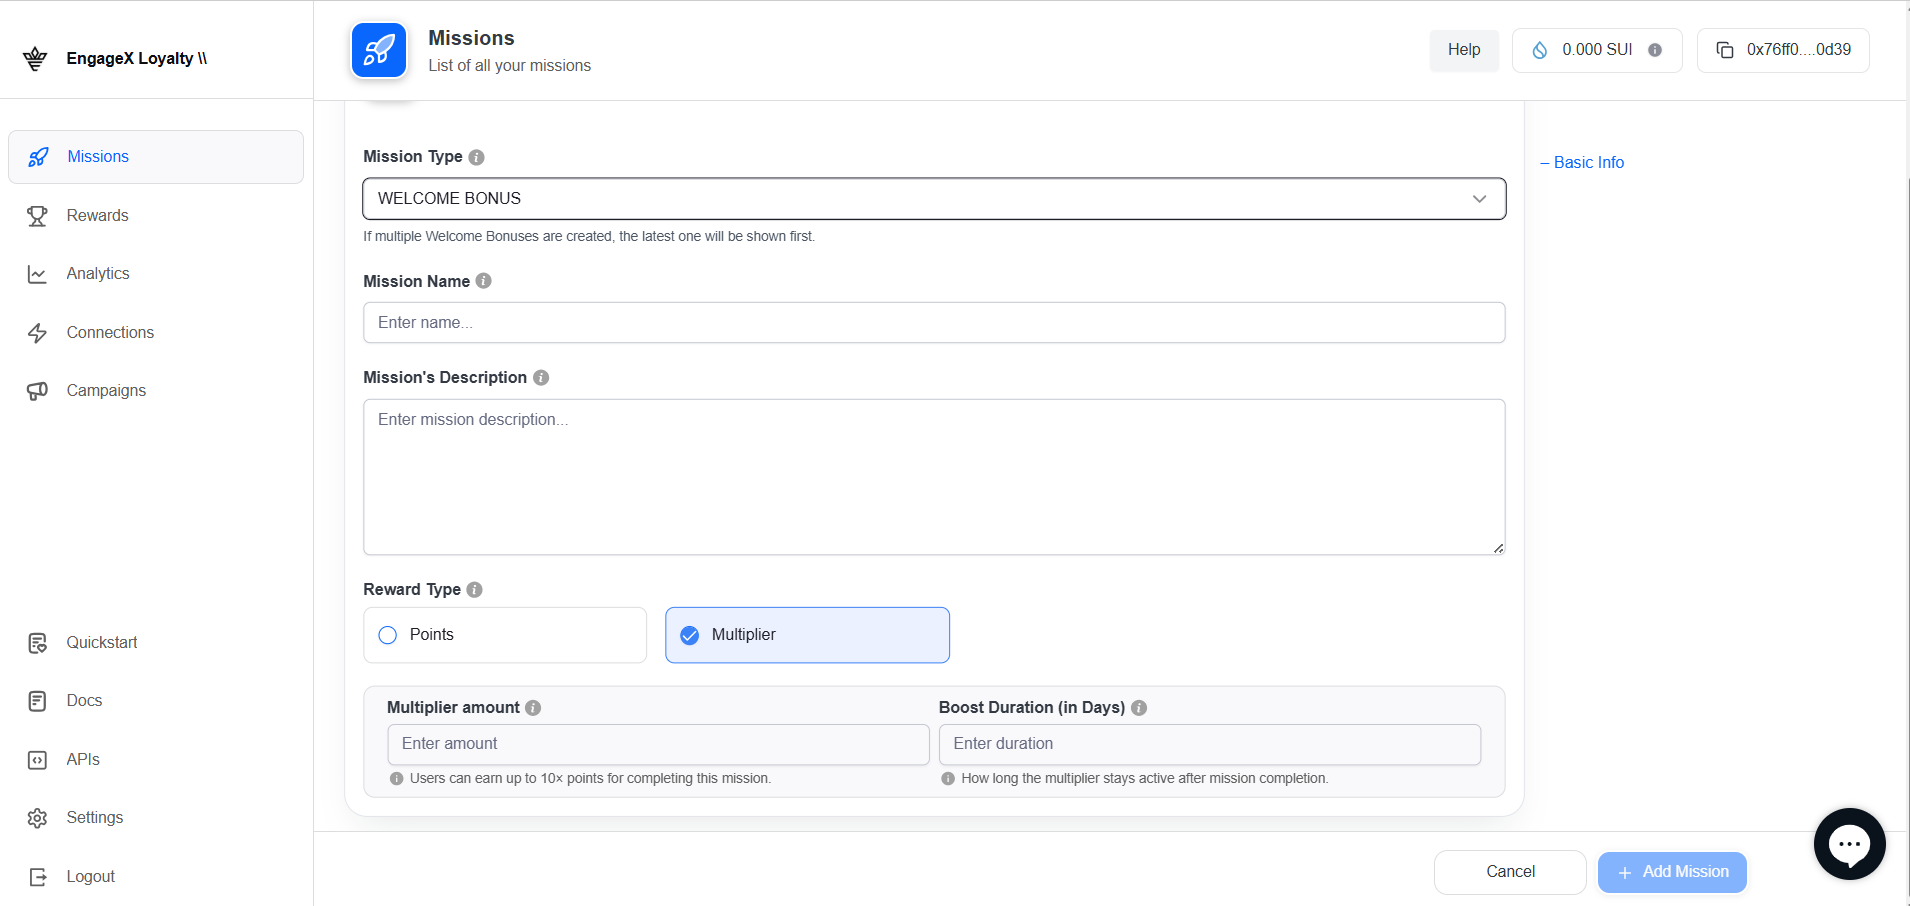
🔹 Step 4: Enable and Configure the Multiplier
Scroll to the Reward Type section and configure the following:
- ✅ Enable Multiplier Toggle
- Multiplier Amount: Choose a value between 2× and 10×.
- Boost Duration (in Days): Define how long the multiplier effect lasts after the mission is completed.
Example: Setting a 3× multiplier for 5 days means users will earn triple points for this mission during that period.
🔹 Step 5: Finalize and Create the Mission
- Review all the mission details and settings.
- Click “Add Mission” to save and activate the mission.
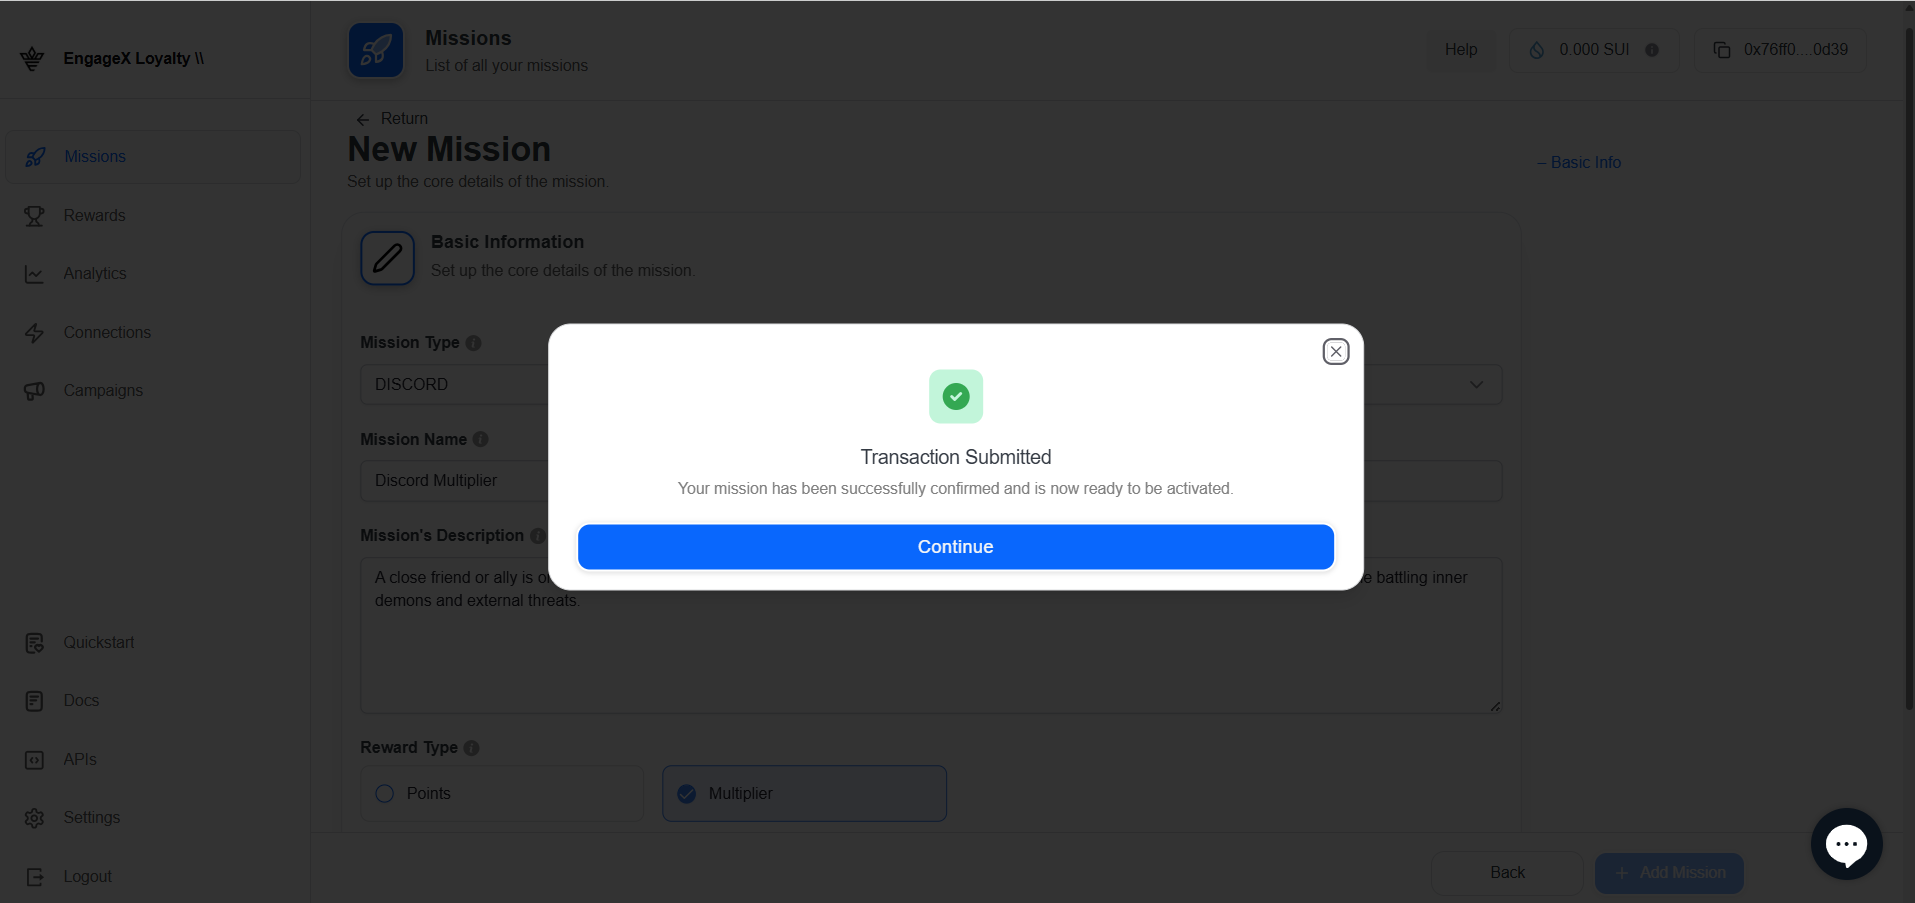
- A confirmation will appear once the mission is submitted successfully.
🎥 Mission Preview in Action:
🔹 Step 6: Verify Transaction Submission
After creation, look for the "Transaction Submitted Successfully" message to ensure the mission was recorded correctly.
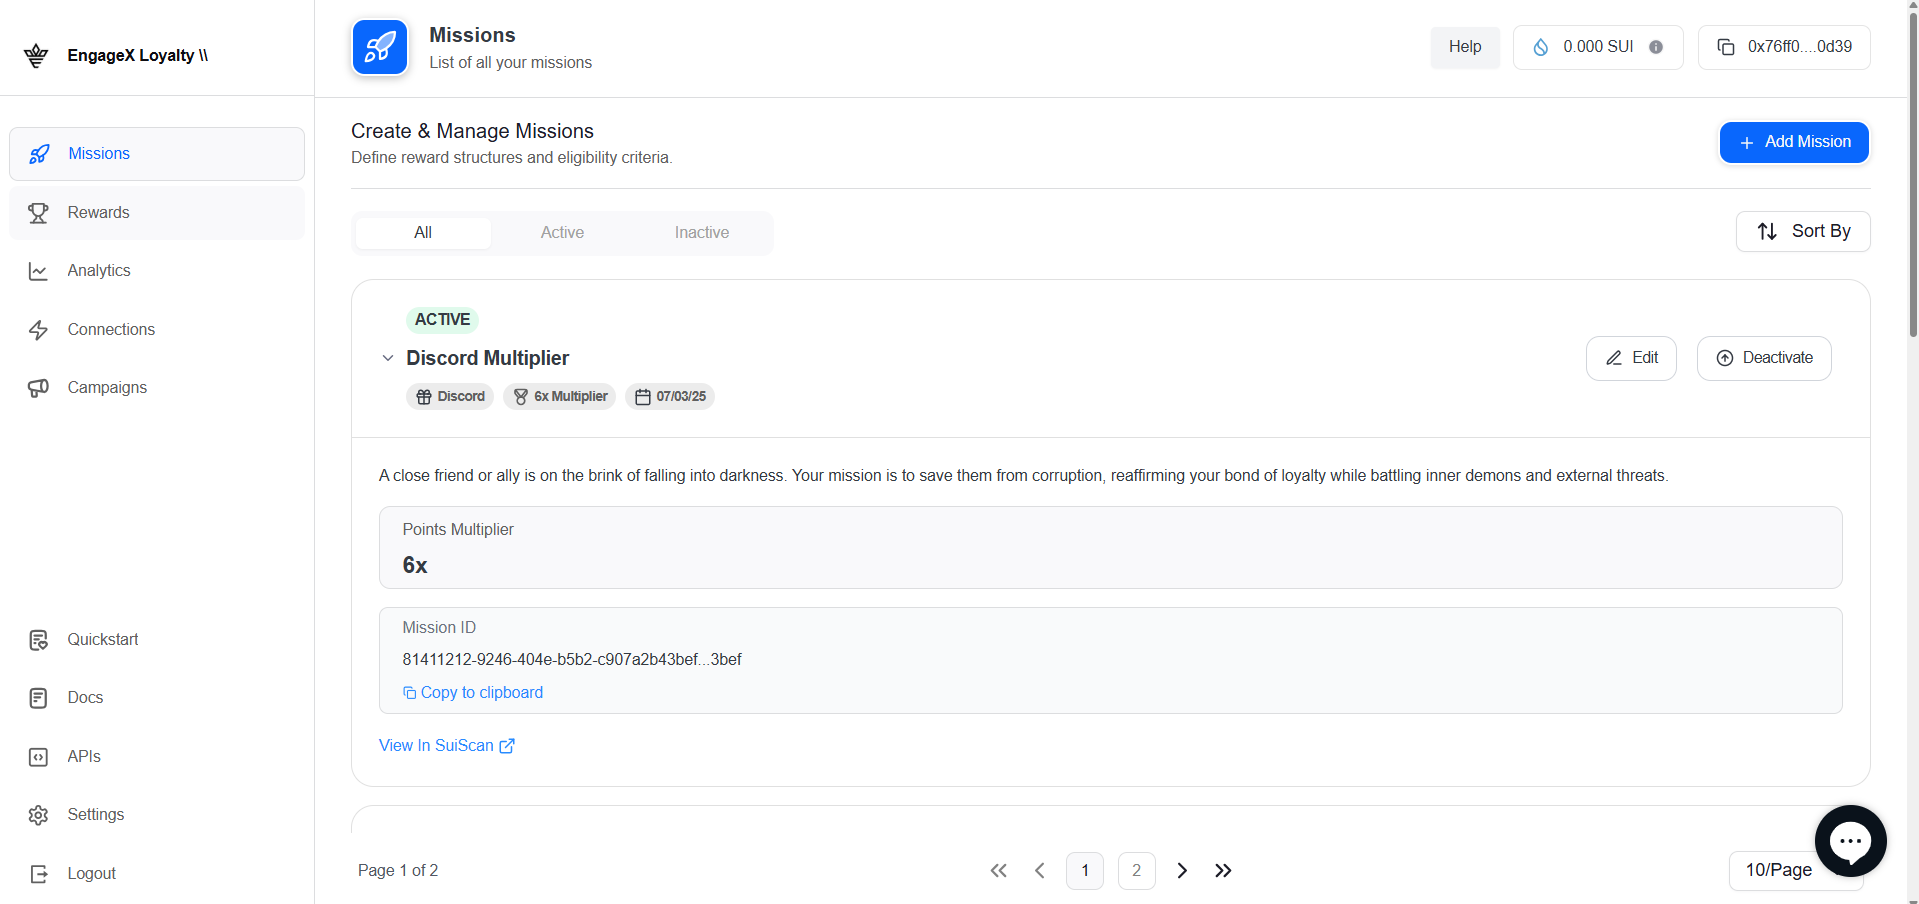
🔹 Step 7: Activate the mission
- To activate a mission, simply click the "Activate" button or a similar option available next to the mission on the overview page.
- Go to this URL for activate and deactivate the missions.
📝 Once your multiplier mission is created, you can view and manage it from the Missions Overview section.
This lets you check status, edit settings, or deactivate the mission as needed.
✅ You're All Set!
Your multiplier-based mission is now live and ready for users to engage. Monitor performance and adjust multipliers as needed to keep your campaigns exciting and rewarding.
💡 Usage Tips & Best Practices for Multiplier Missions
-
🎯 Use Multipliers Strategically: Apply them to high-engagement missions (like daily check-ins or social follows) to boost participation.
-
⏱ Limit Boost Duration: Set shorter durations (e.g., 3–5 days) to create urgency and encourage quicker action from users.
-
📊 Track Performance: Monitor mission completion rates and adjust multiplier values based on user behavior.
-
🔄 Rotate Multiplier Missions: Frequently rotate which missions offer multipliers to keep users engaged and coming back.
-
🧪 A/B Test Multipliers: Try different multiplier values (e.g., 2× vs. 5×) across similar missions to see what drives better user engagement.
-
👥 Combine with Campaigns: Use multiplier missions inside special campaigns or limited-time events to maximize impact.
-
📆 Promote Time-Sensitive Multipliers: Announce in your community when a new multiplier mission goes live to drive immediate traffic.
Updated about 1 year ago