Create Multiplier Campaign
🧩 How to Create a Multiplier Campaign in the Mojito Loyalty Admin Portal
Creating a campaign with a Multiplier Reward allows you to boost user engagement by offering extra points for a limited duration. This guide walks you through each step in the campaign setup process.
✅ Preconditions
Before creating a campaign, ensure the following:
-
You are logged in to the Loyalty Admin Portal with valid admin credentials.👉 Login Guide
-
At least one mission has already been created and is visible in the Missions tab.👉 Mission Creation Guide
🚀 Steps to Create a Multiplier Campaign
🔐 Step 1: Log in to the Admin Portal
- Open the Loyalty Admin Portal.
- Enter your credentials.
- Click the Login button to proceed.
🎯 Step 2: Create Missions (If Not Already Created)
-
Go to the Missions tab from the left-hand menu.
-
Click Add Mission.
-
Configure the following details:
- Mission Name
- Mission Type (Discord, X, Token, Custom, etc.)
- Rules & Requirements
-
Click Save to add the mission.
📘 View detailed Mission Creation steps
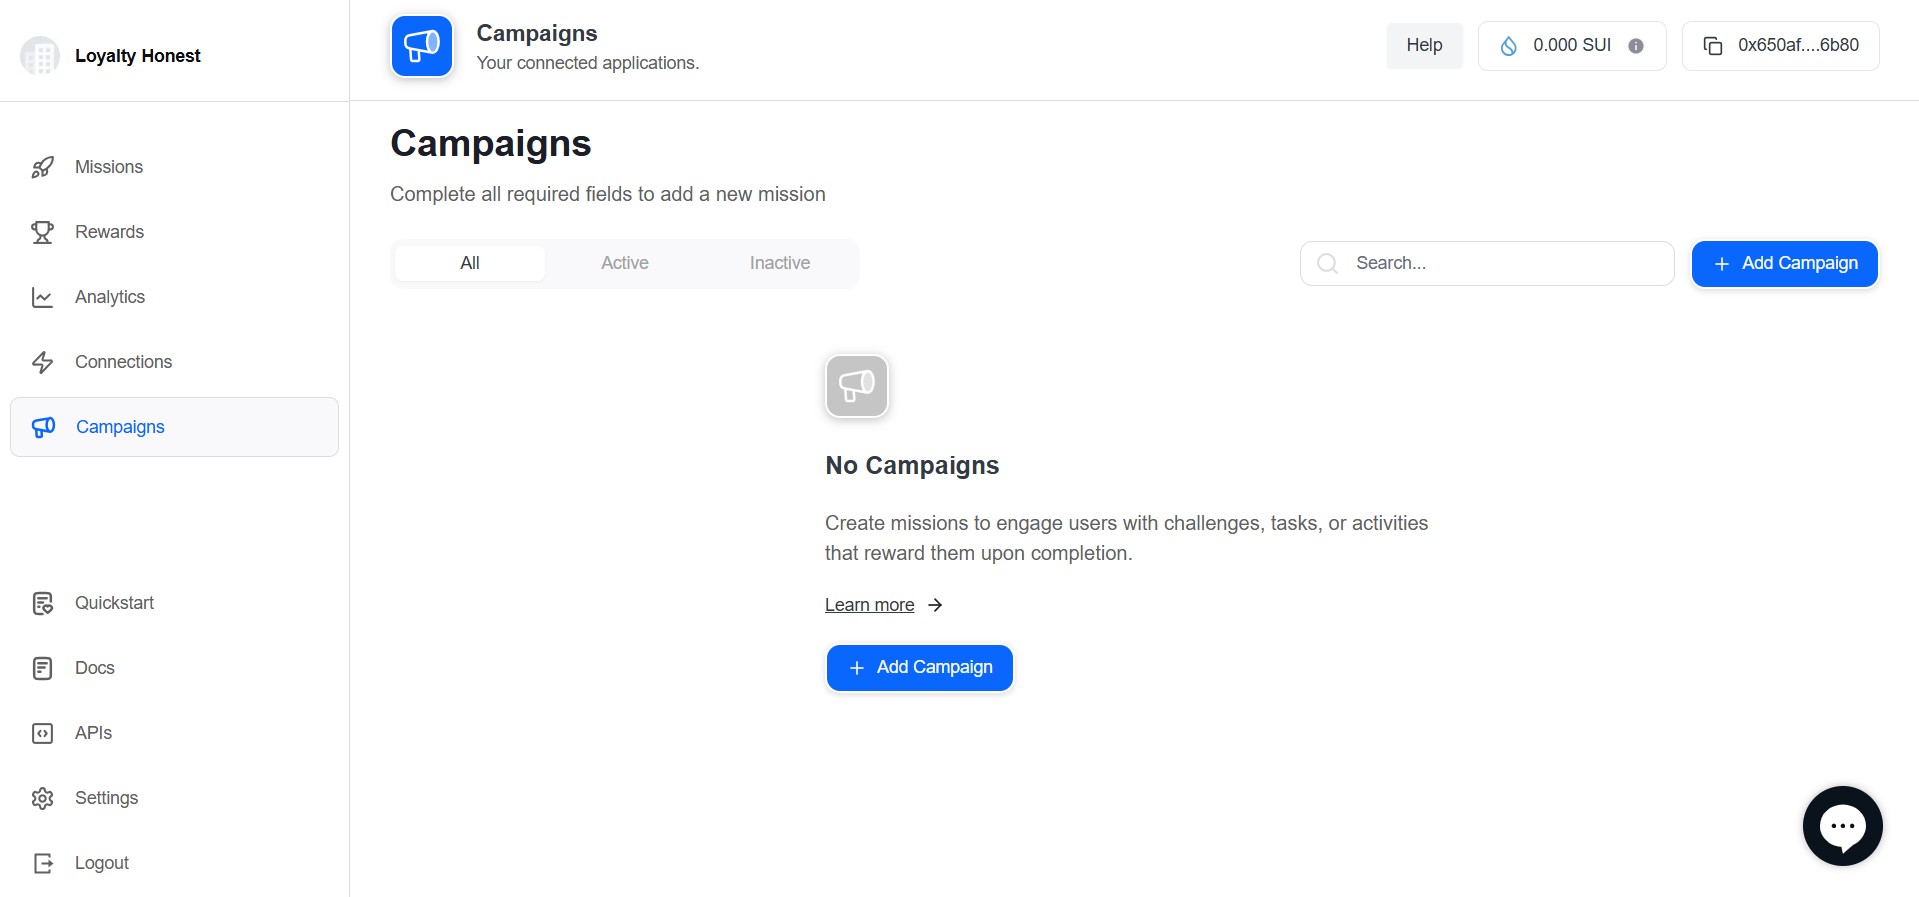
🧭 Step 3: Start Campaign Creation
- Navigate to the Campaigns tab.
- Click Add Campaign to start the setup wizard.
🛠️ Campaign Creation Wizard – Step-by-Step
The Campaign Wizard has 5 simple steps:
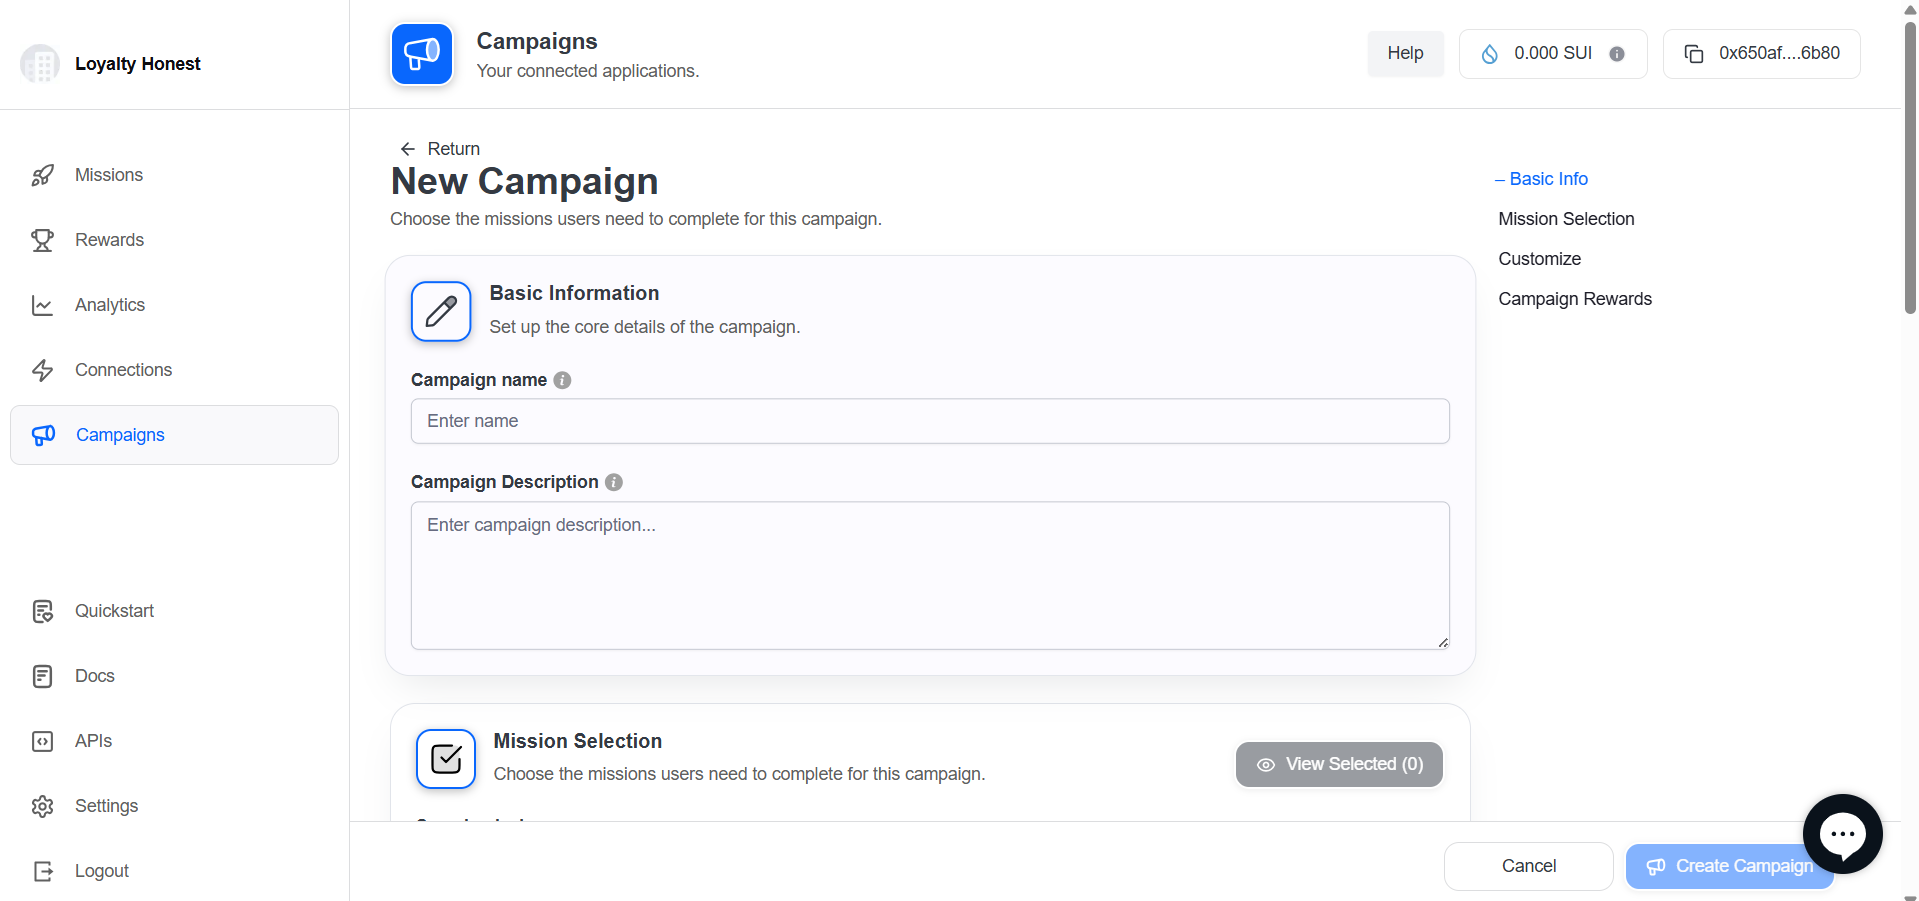
📝 Step 1: Basic Information
Section Title: New Campaign – Basic Information
| Field | Description | Required |
|---|---|---|
| Campaign Name | A unique title for internal tracking. | ✅ Yes |
| Campaign Description | Short overview of the campaign purpose. | ✅ Yes |
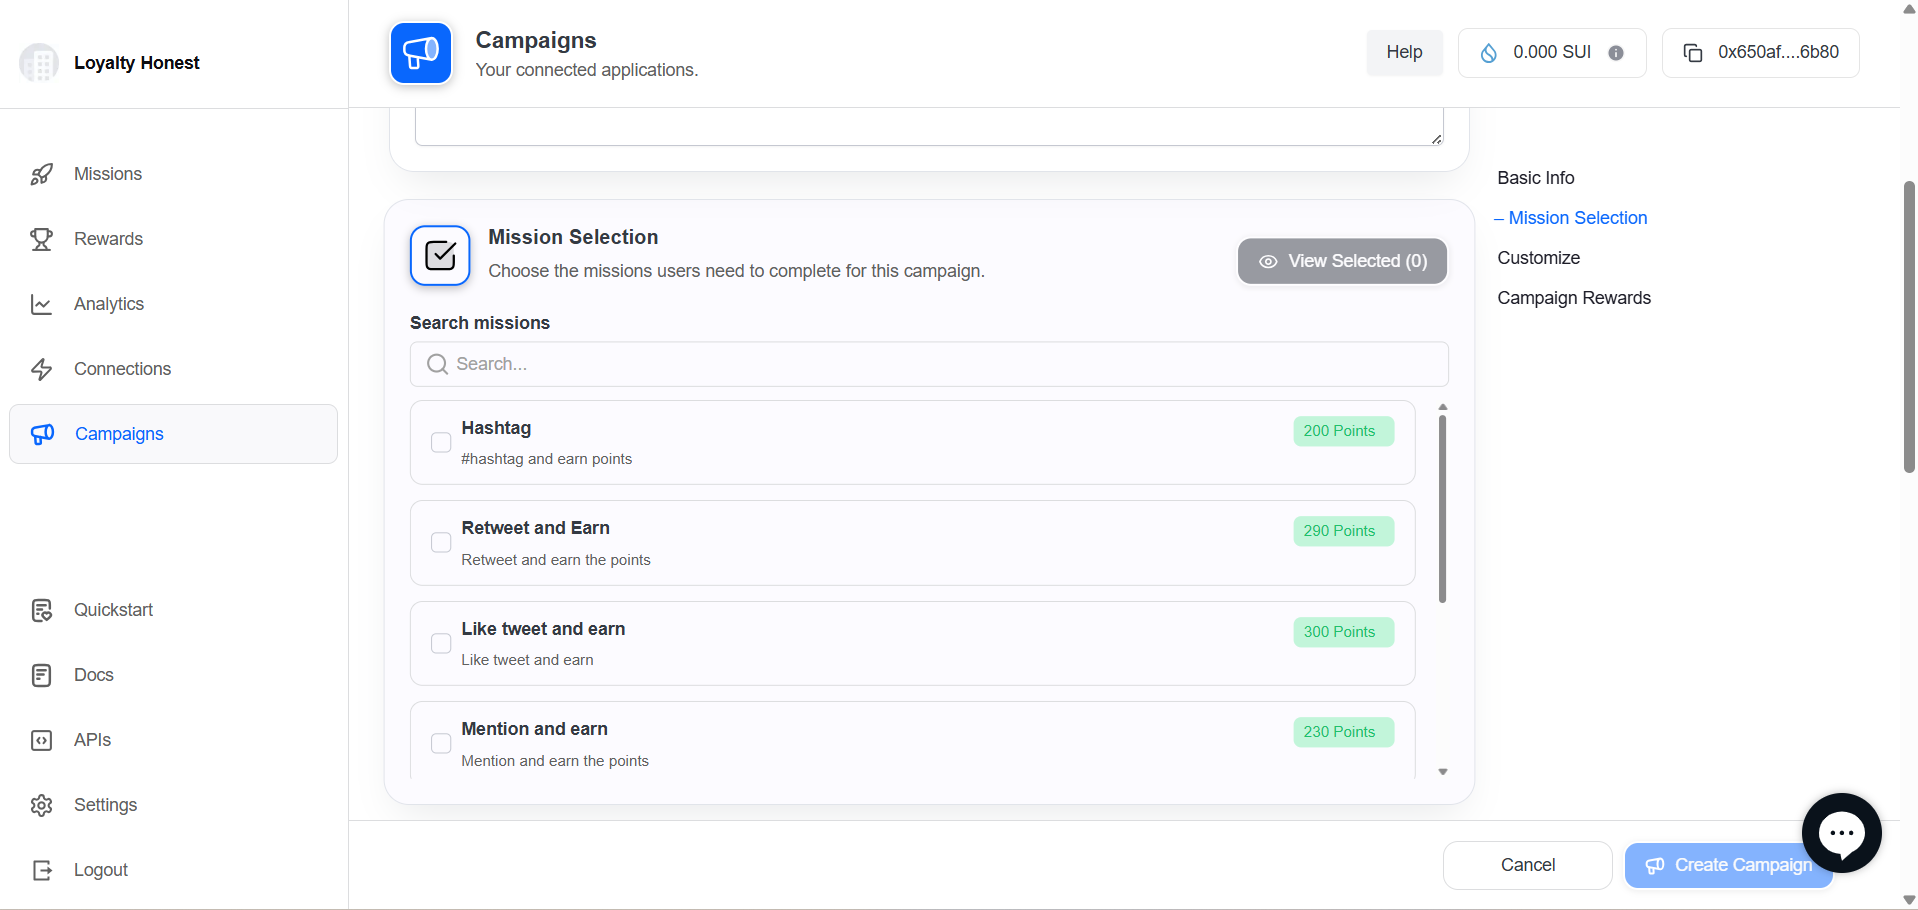
🧩 Step 2: Select Missions
Section Title: Choose the missions users need to complete for this campaign
Instructions:
- Use the Search bar to filter missions.
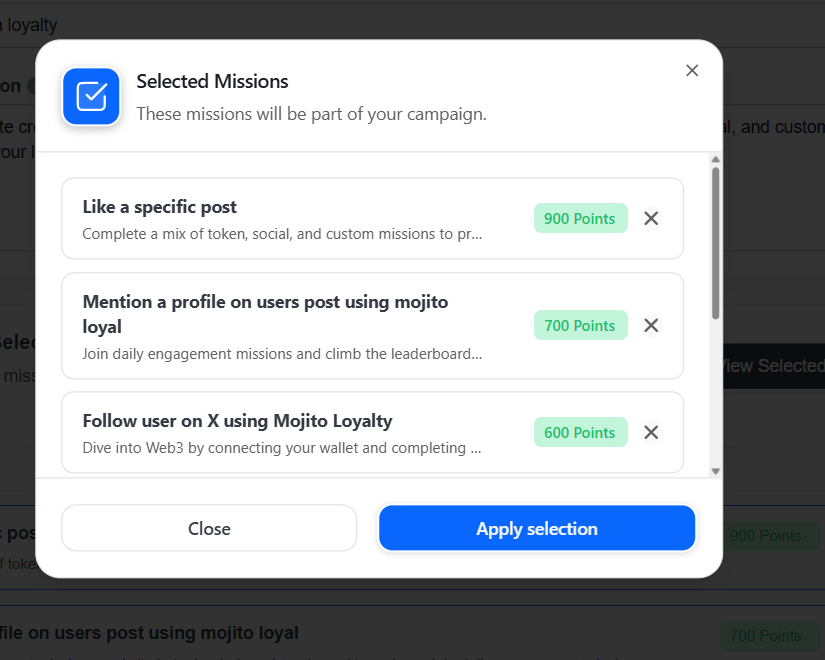
- Select one or more missions using checkboxes.
- Click View Selected Missions to confirm.
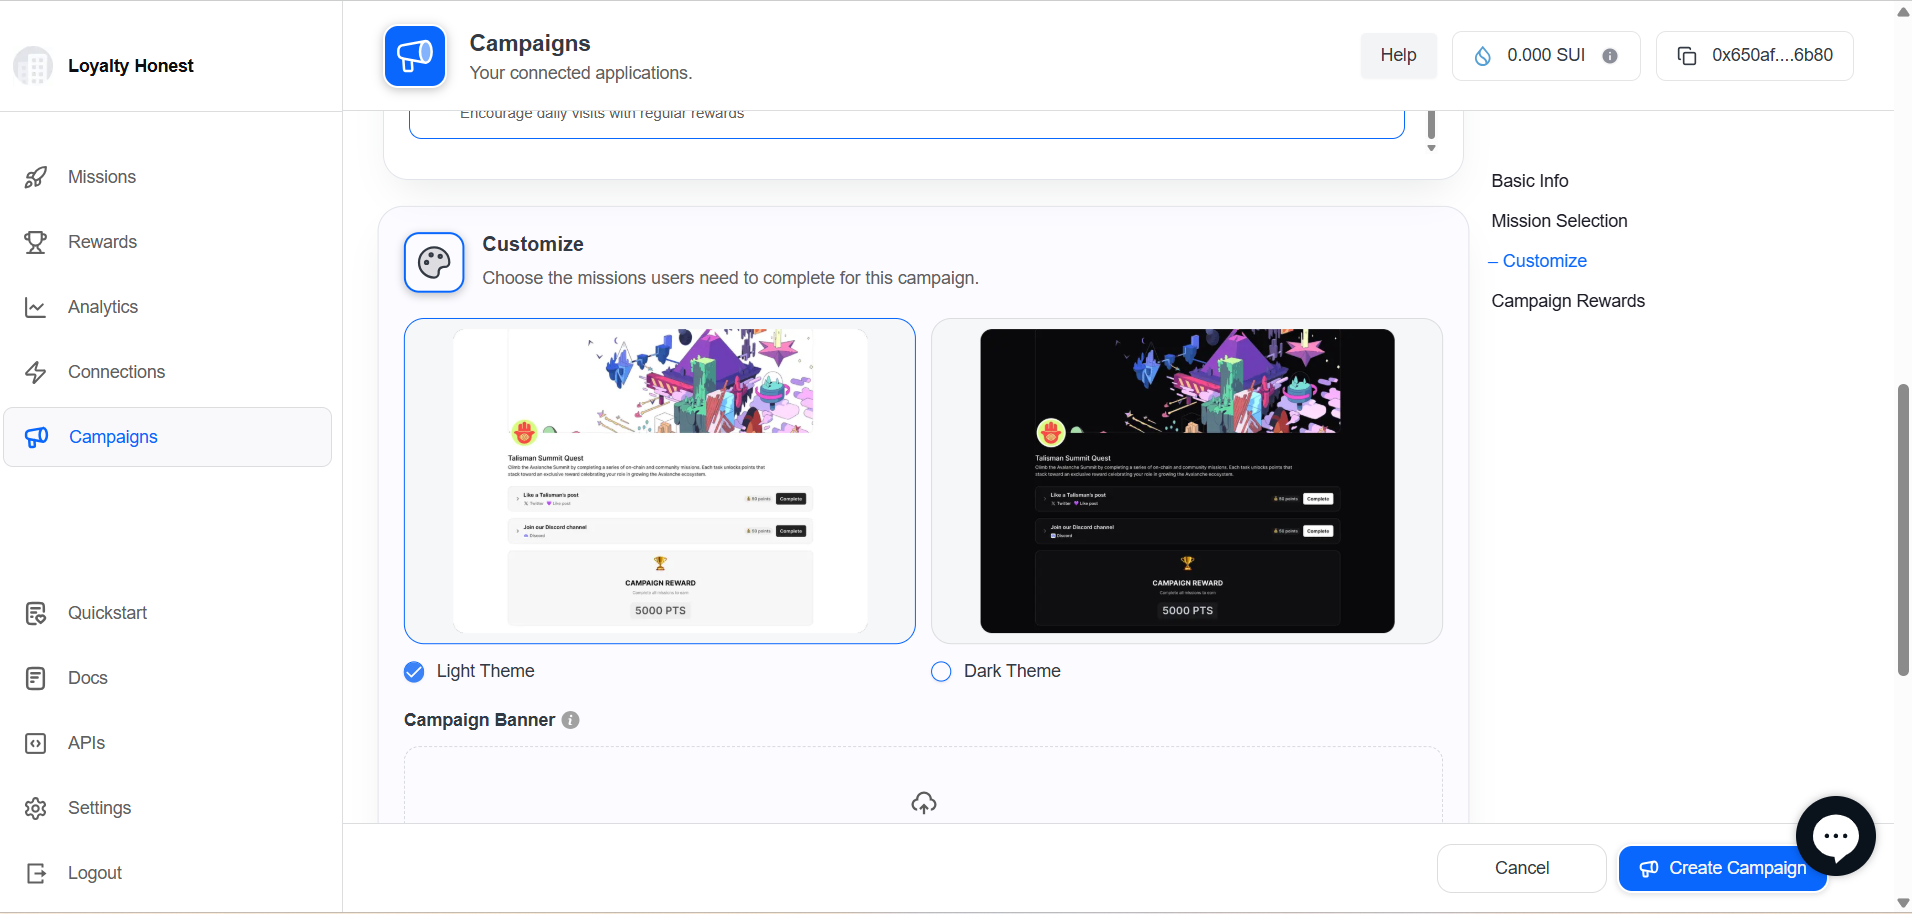
🎨 Step 3: Customize Theme
Section Title: Choose the appearance for your campaign
| Option | Description |
|---|---|
| Light Theme | Bright UI with light background |
| Dark Theme | High-contrast, dark-themed UI |
👉 Select your preferred theme using the radio button or card view.
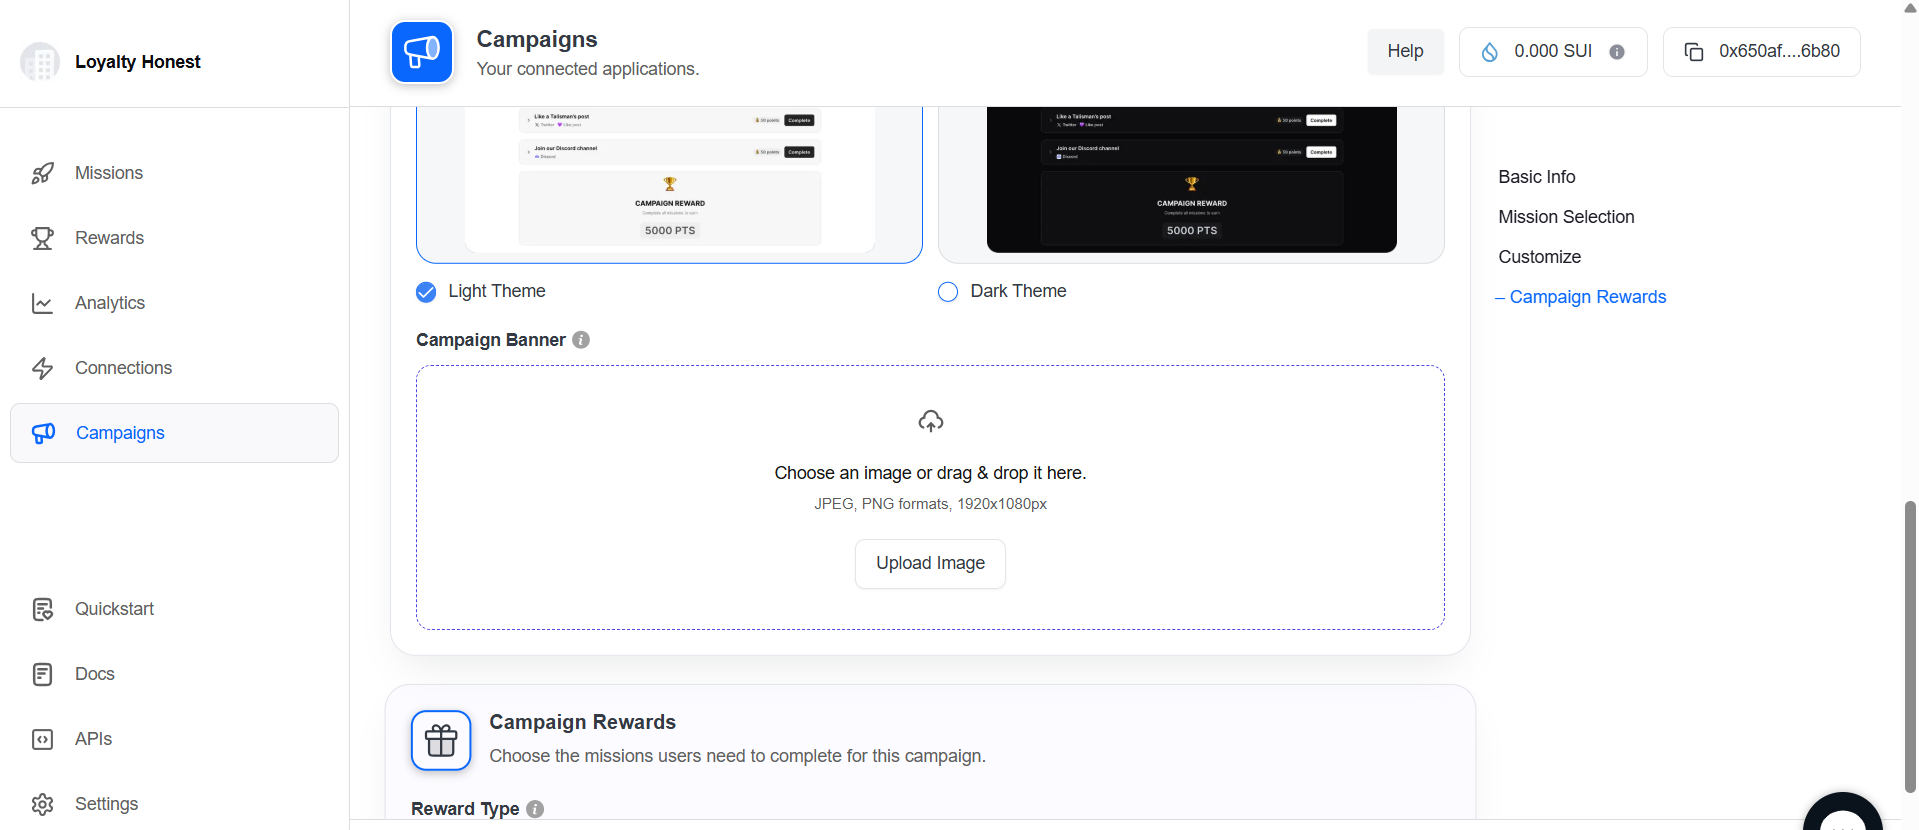
🖼️ Step 4: Upload Campaign Banner
Section Title: Upload a banner image for your campaign
| Field | Description |
|---|---|
| Upload Area | Click or drag-and-drop your banner file |
| Accepted Formats | PNG, JPEG |
| Recommended Size | 1920 x 1080 pixels |
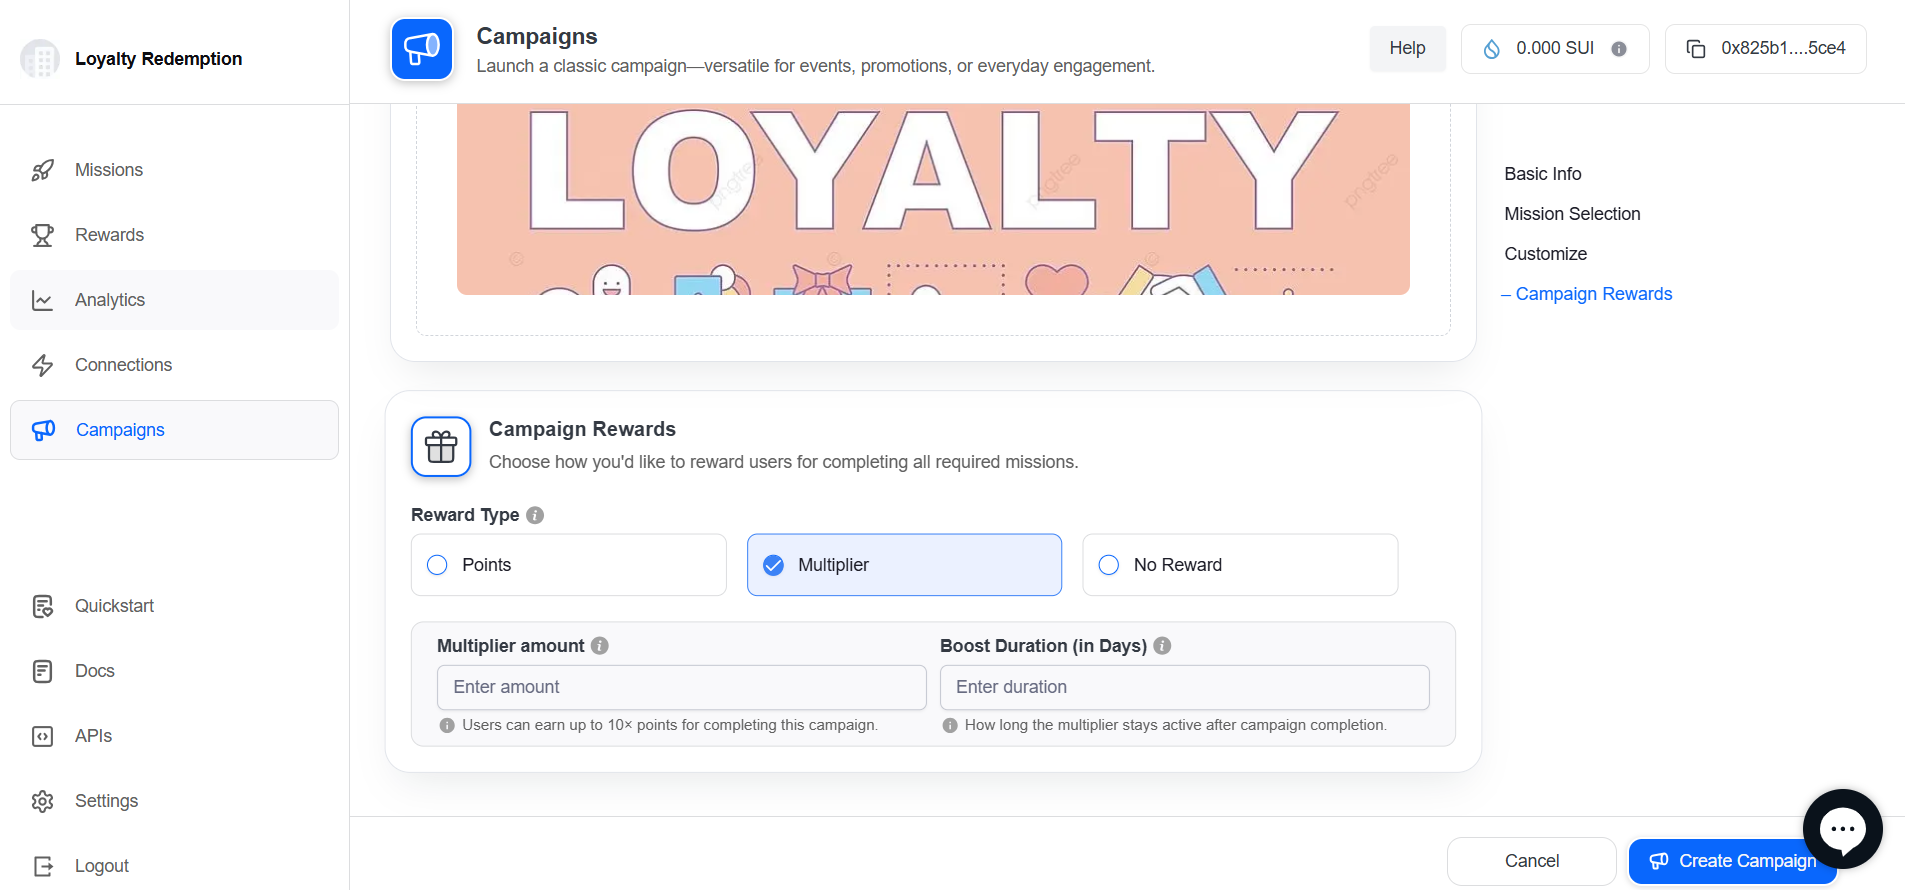
🎁 Step 5: Configure Campaign Rewards
Section Title: Assign rewards for completing this campaign
| Field | Description |
|---|---|
| Reward Type | Choose Multiplier |
| Multiplier Amount | Set the boost amount (e.g., 3×) |
| Boost Duration (in days) | Time frame during which the multiplier is active |
ℹ️ Example: A 3× multiplier for 5 days means users will earn 3x points for campaign actions within that duration.
✅ Click Create Campaign to complete the setup.
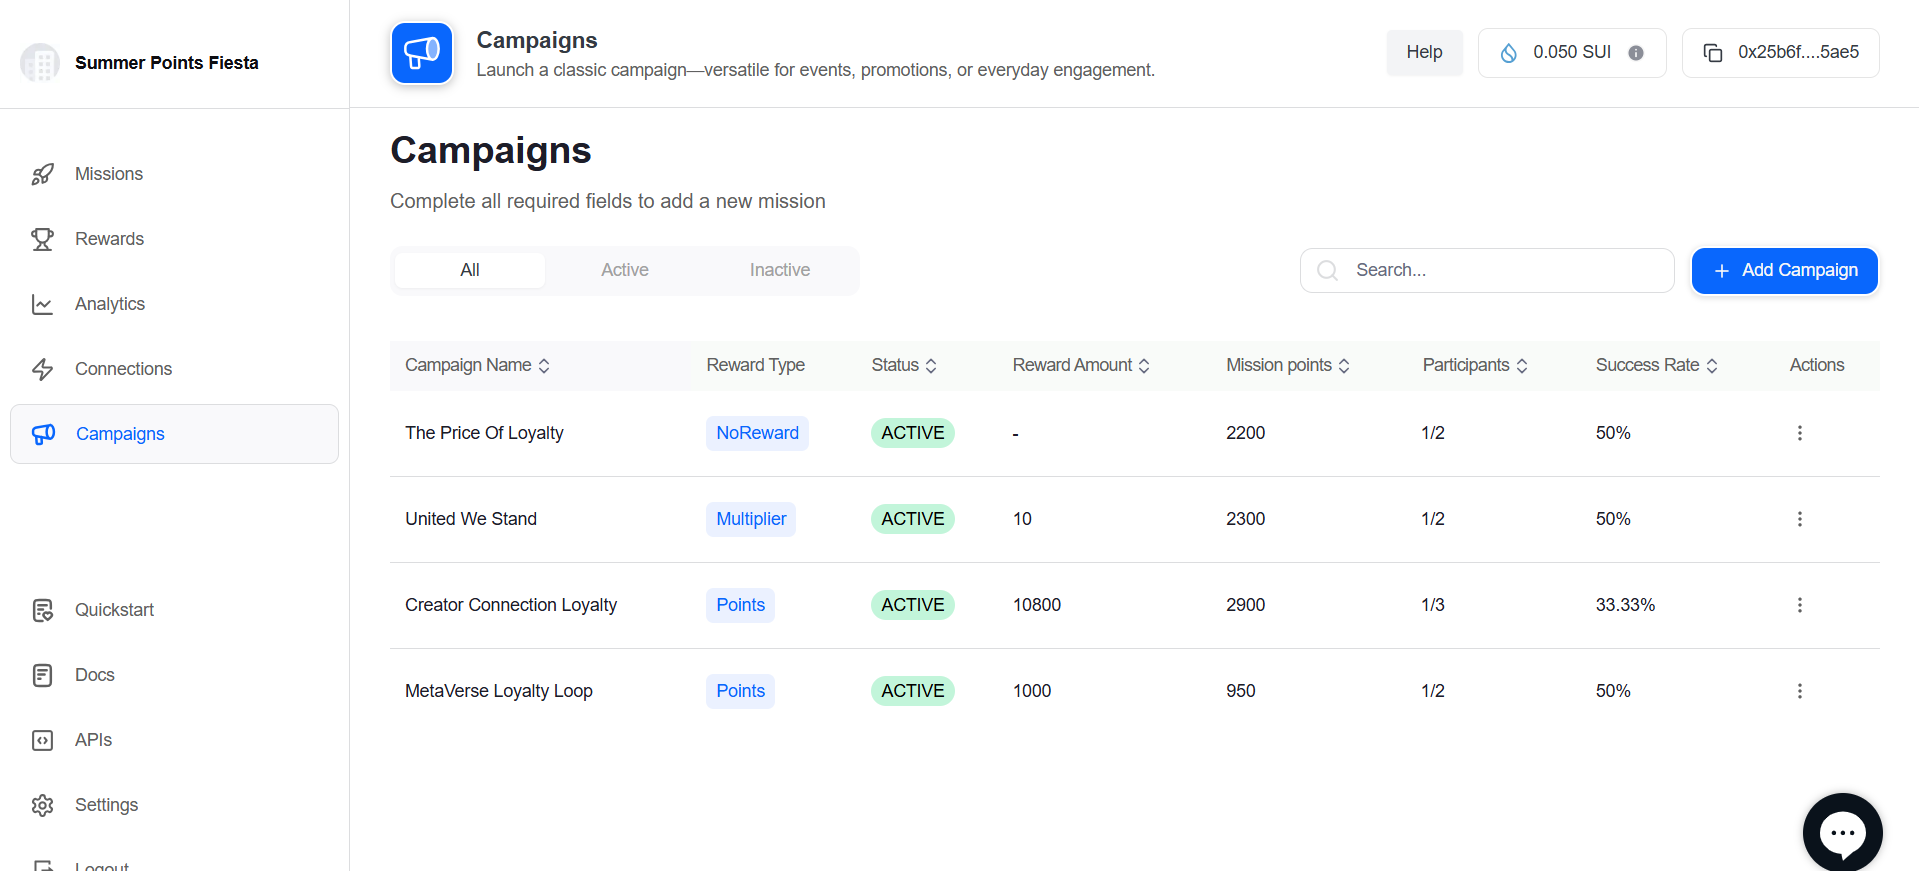
📌 After Campaign Creation
Once created, your campaign will:
-
Appear in the Campaigns List with a status of Active.
-
Be accessible via action buttons to:
- 🔍 Preview
- ✏️ Edit: You can check how to edit the campaign using this URL
- 🔄 Activate/Deactivate
💡 Tips for Usage
- Combine multiplier rewards with limited-time campaigns to drive urgency.
- Use descriptive campaign names for easier tracking.
- Preview campaigns before going live to verify banner and mission accuracy.
Updated about 1 year ago