Custom Activity
This mission type allows you to reward users based on a specific on-chain event emitted by a smart contract. By providing the contract address, the system connects to the ABI and lets you select the event signature you want to track (e.g., SwapCompleted,Transfer).
For verified contracts, the ABI is fetched automatically; for unverified contracts, it must be uploaded manually. The event is then mapped to the user’s wallet, and rewards are assigned based on the configured strategy type.
🧾 Step-by-Step Guide: Create On-chain Custom Activity – Mission
This mission rewards users for custom activity type of missions
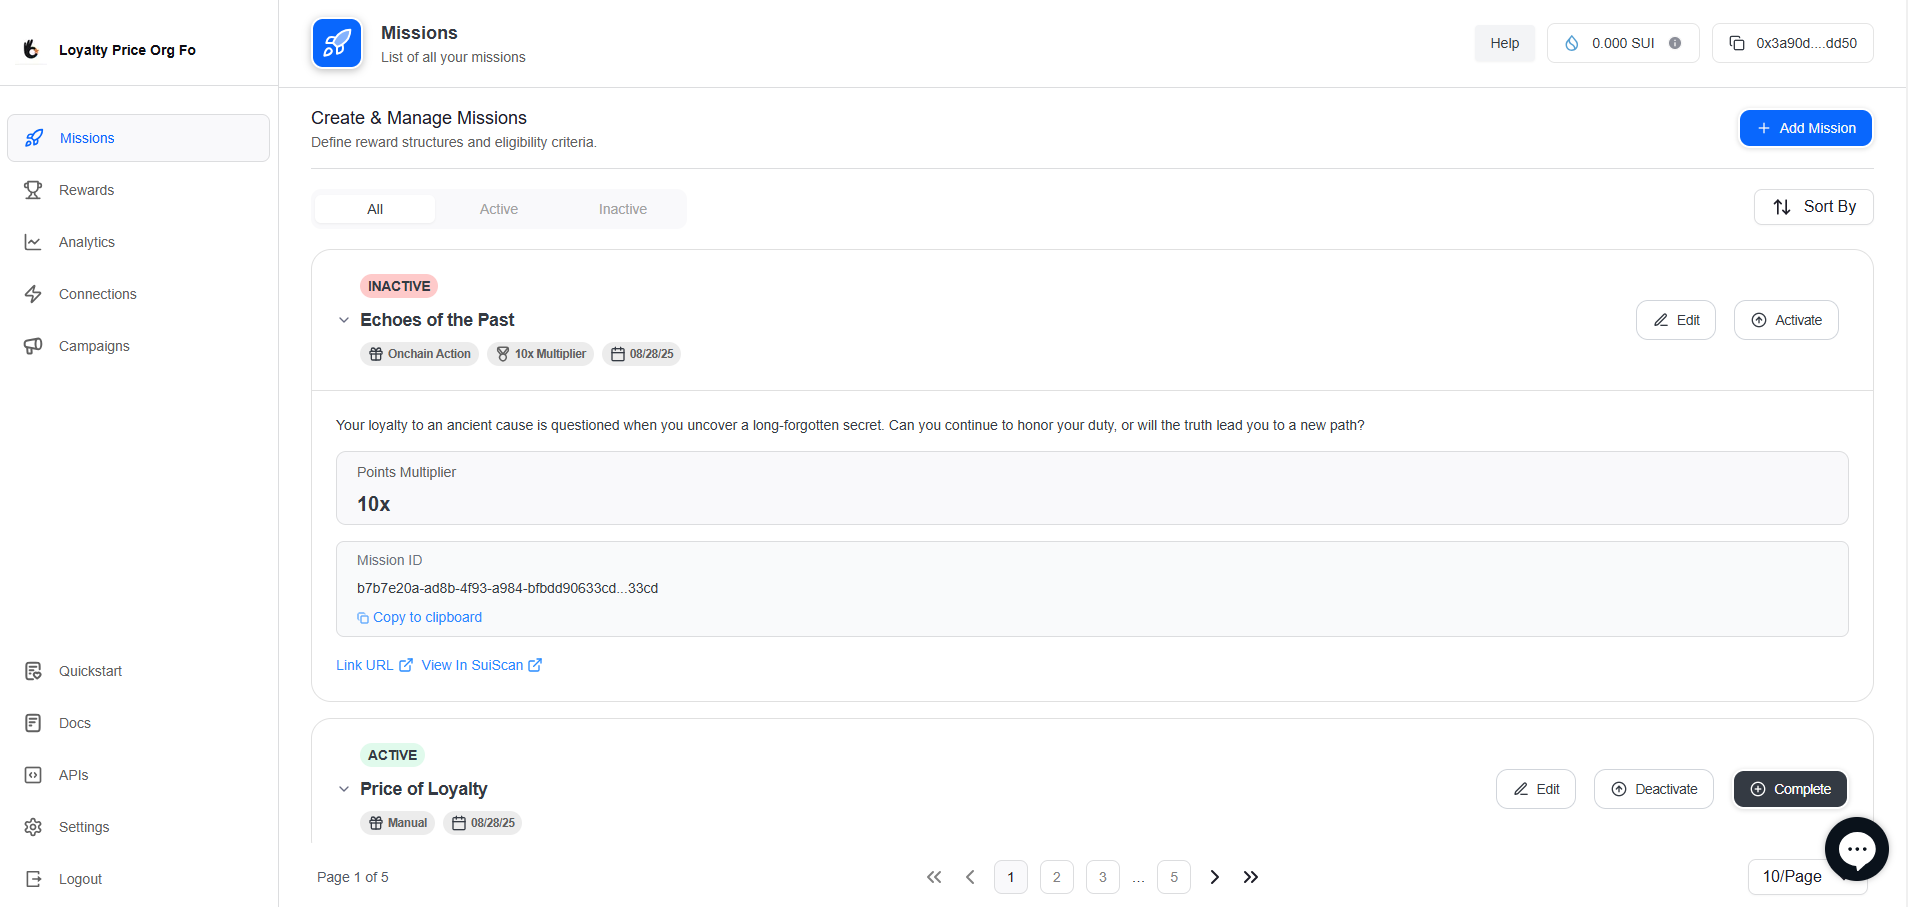
🔹 Step 1: Go to Mission Creation
- Log in to the Loyalty Admin Portal
- Navigate to the “Missions” section
- Click “Create New Mission”
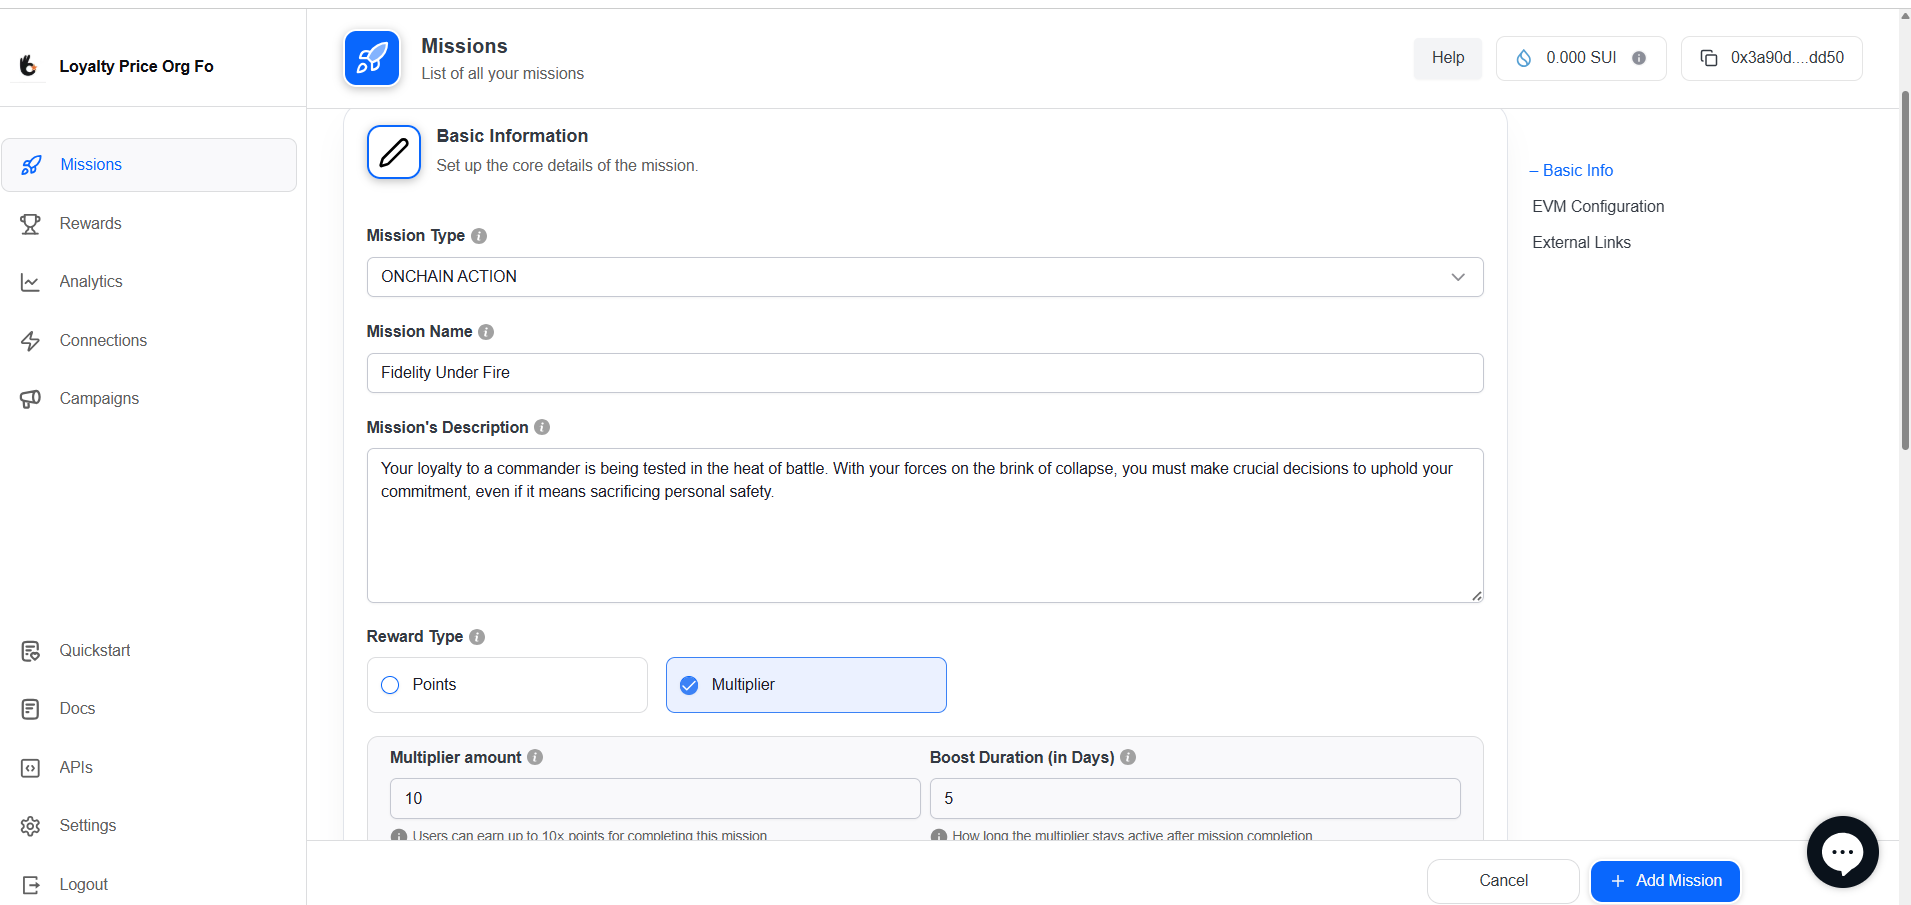
🔹 Step 2: Fill in Basic Information
| Field | Description |
|---|---|
| Mission Type | Select ONCHAIN ACTION. |
| Mission Name | Enter the title of the mission. |
| Mission Description | Provide a short instruction about what the user needs to do. |
| Reward Type | Choose between Points or Multiplier. |
| Points Awarded | Define how many points the user will receive upon completion. |
🔹 Step 3: Configure On-chain Action
Define the blockchain behavior that triggers mission completion.
Check below details and add
| Field | Description |
|---|---|
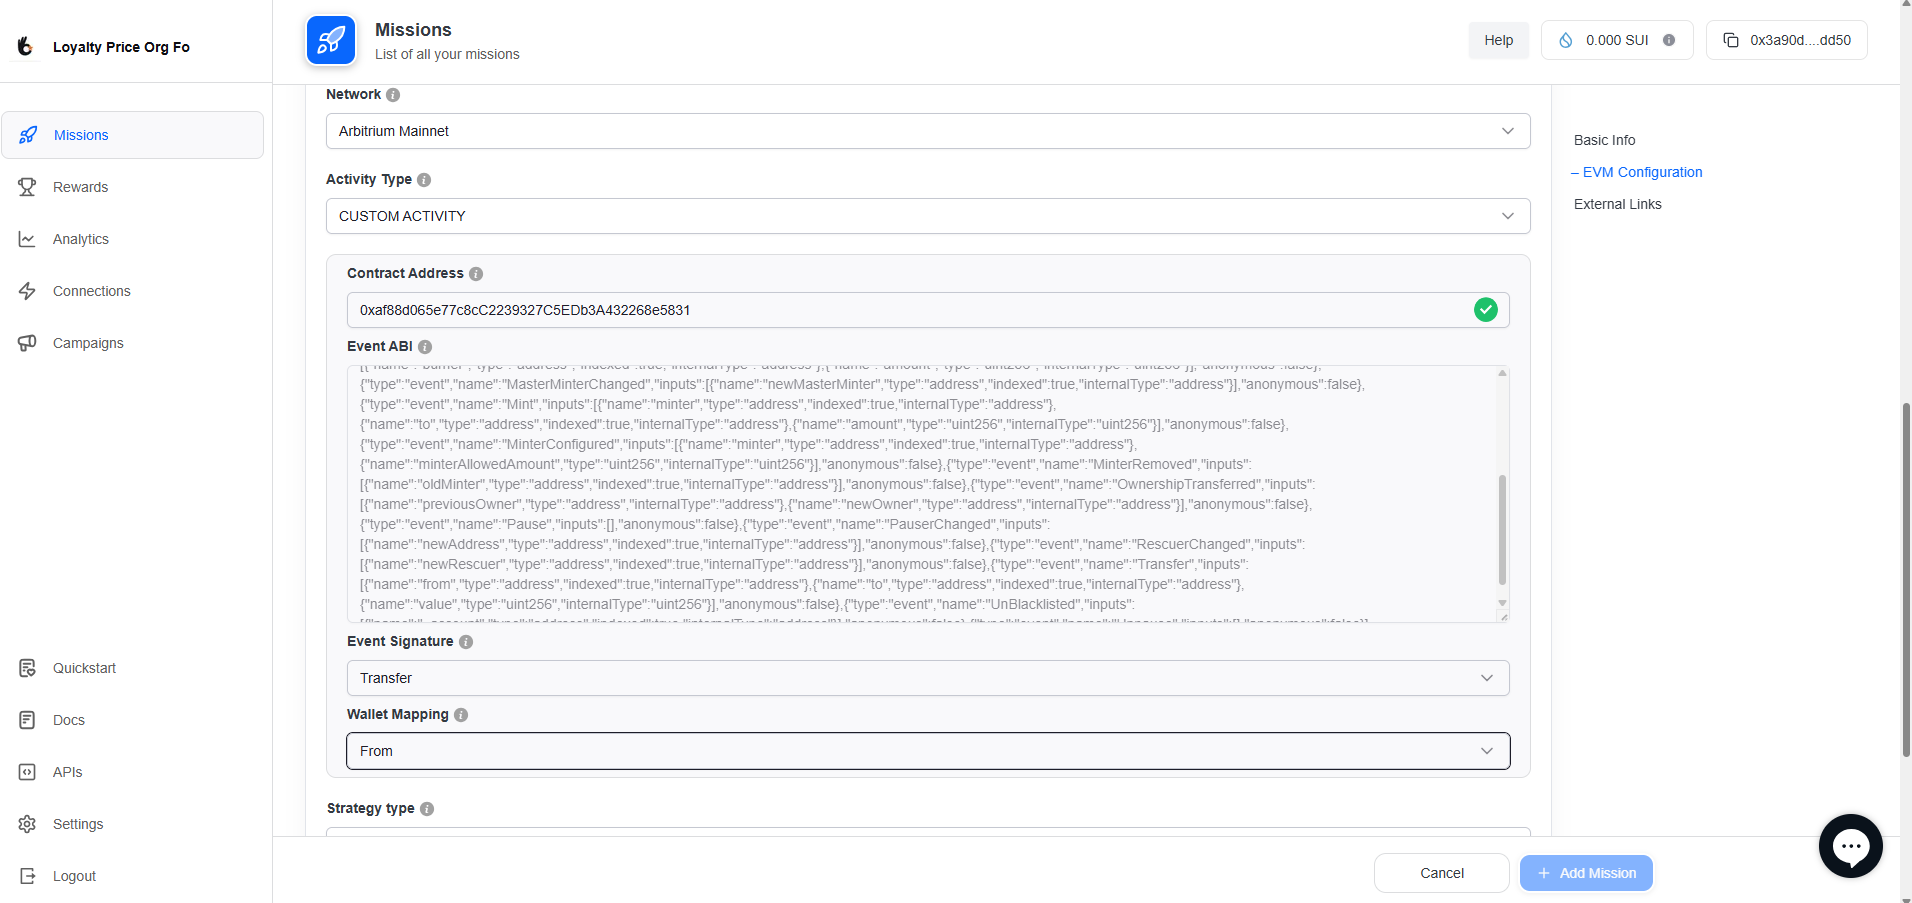
| Network 🌐 | Choose the blockchain network where the token/contract is deployed (e.g., Ethereum, Polygon). |
| Activity Type ⚙️ | Select the activity type to track. For custom tracking, choose CUSTOM ACTIVITY. |
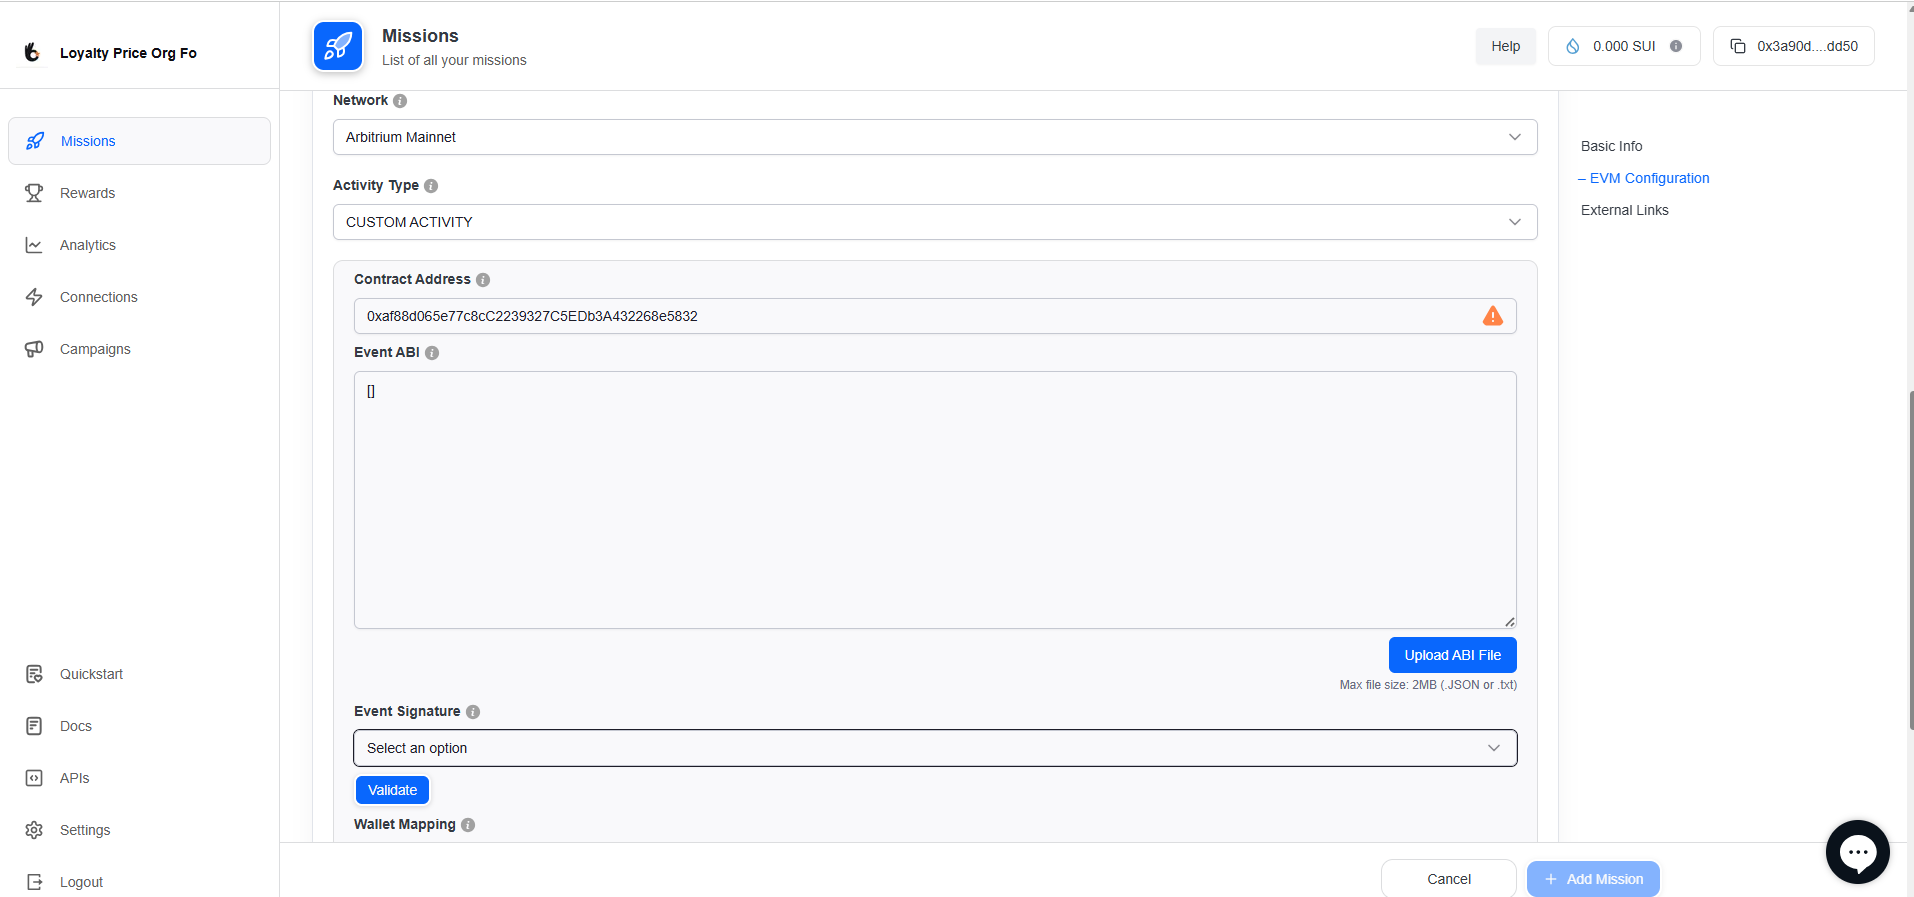
| Contract Address 🔗 | Paste the smart contract address where the action happens — this links the mission to the correct on-chain event. |
| Event ABI 📝 | Paste the ABI JSON directly or upload an ABI file (Max 2MB, supports .JSON / .txt). |
| Event Signature 📌 | Select the event name from your ABI that you want to track. Must match exactly (e.g., SwapCompleted). |
| Wallet Mapping 👤 | Map the wallet address involved in the event to the user’s wallet for verification. |
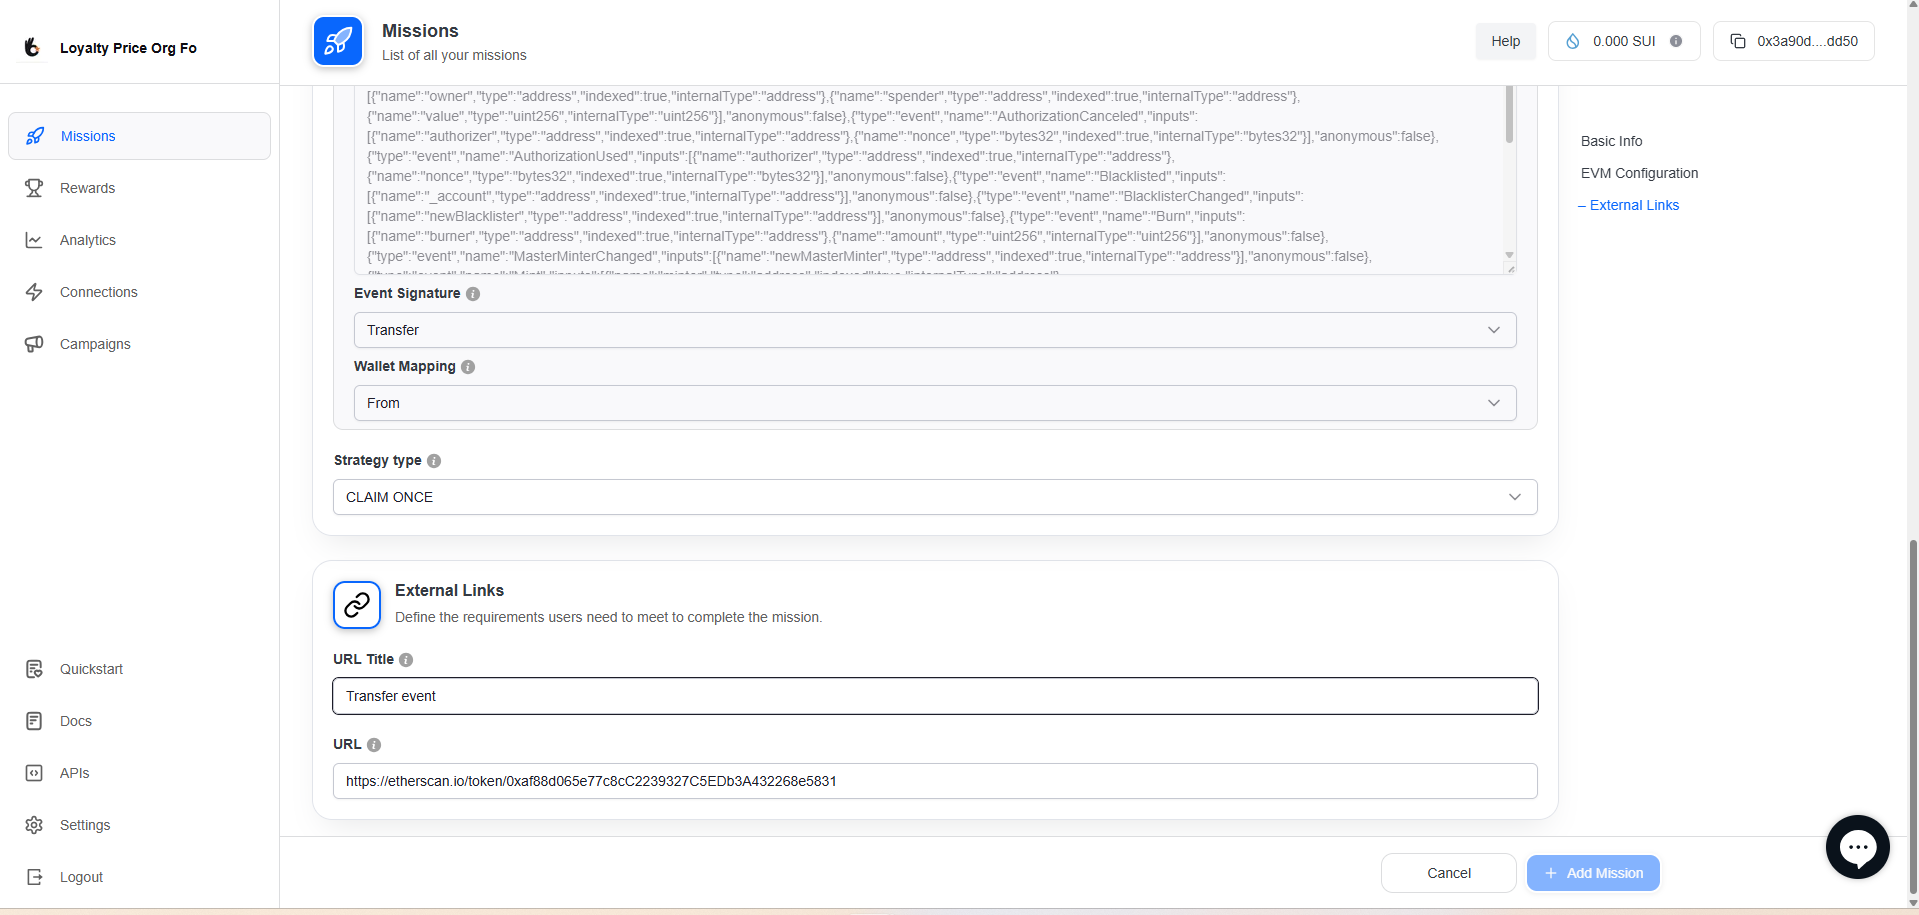
| Strategy Type 📊 | Define how the event should be validated (e.g., once per user, count-based, or condition-based). |
- CLAIM ONCE – User can claim the reward a single time.
- CLAIM DAILY – User can claim once per 24-hour period.
- CLAIM RECURRING – User can claim multiple times during the campaign based on eligibility.
| Case | Behavior | Action Required by Admin |
|---|---|---|
| Verified Contract ✅ | System automatically fetches the ABI file from the blockchain explorer (e.g., Etherscan). | Just enter the contract address — no manual upload. |
| Unverified Contract ⚠️ | ABI cannot be auto-fetched because the contract is not verified. | Paste ABI JSON manually or upload ABI file (.json, .txt, max 2MB). |
🔹 Step 4: Add External Links (Optional)
Provide helpful links for users to view or acquire the token.
| Field | Description |
|---|---|
| URL Title | Enter a short label for the link (e.g., Buy Token). |
| URL | Add the full URL that users can visit. |
🔹 Step 5: Save & Activate
- Click Save to store the mission as a draft.
- Use Preview to verify the configuration.
- Click Activate to go live.
✅ Your mission is now ready! You can proceed to link it with a campaign to start rewarding users🚀
✅ Tips
- Users must connect their EVM wallet (e.g., MetaMask) to check NFT holdings.
- This mission type supports ERC721 and ERC1155 token standards.
- Contract must be deployed and NFTs must be visible on-chain.
More info on setting up On-chain Missions:On-chain Action Documentation
Learn about NFT activity validation:NFT Activity Integration Guide
EVM Wallet Connection Guide:Connect Wallet
Updated 11 months ago
Did this page help you?